 Fresh off the relative success constructing my first "green wall module", I was eager to get started on a true "green wall".
The first decision I had to make was where to build it. I try to avoid experimenting on my customers so it had to be somewhere on our
property. We'd raised chickens over the summer and were long overdue for building a coop, so I decided to try and transform a huge eyesore of a lean-to out back into my new palace de pollo.
We framed in the walls, installed a door and built the green wall in essentially the same manner as I'd constructed the module. One notable difference was the installation
of EPDM to keep irrigation water from seeping into the OSB backing. Cedar & wood polymer decking were used for the structure and off the shelf Netafim was used for irrigation.
I mixed together a combination of potting mix, bark, fine scoria and vermiculite until it looked right (don't ask me how I knew). Shoveled in and held in place by a commercial grade
layer layer of weed fabric, the soil-less medium was ready for planting. At least I thought it was...
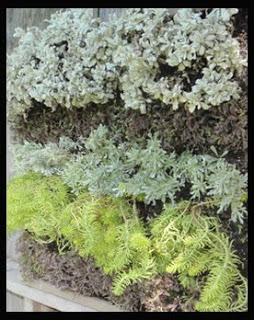
Three quarters of the wall had been planted in sweeping Art Nouveau patterns of color and texture, when it finally dawned on me to check the irrigation. After running the water for two hours it became obvious that something was very wrong. The bottom portion of the green wall was completely saturated, whereas the top was still bone dry.
I knew I was looking at the deconstruction of several days worth of work to understand the cause of the problem. Deciding it had been an experiment DOA, I pulled out plants, weed fabric and planting medium to get a look at the irrigation.
What I saw was that in the process of installing the planting medium, the Netafim dripperline had been pushed to the back of the planting shelf. Complicating matters even more, I had obviously overestimated the horizontal movement of water in the planting medium. If that wasn't enough, the horizontal shelving I had installed at an a 45 degree angle was collecting the irrigation water and "pulling" moisture away from the roots of the plants.
I reached three conclusions from my Green Wall autopsy:
1. The Netafim needed to be much closer to the roots of the plants,
2. the planting depth of the green wall needed to be decreased by at least 50%, and
3. the horizontal shelving needed to be reinstalled at a 90 degree angle to the wall.
I installed two layers of Expanded polystyrene insulation panels to cut the planting depth, reworked the irrigation and put everything back together. Again.
Happily, the changes seems to have worked.
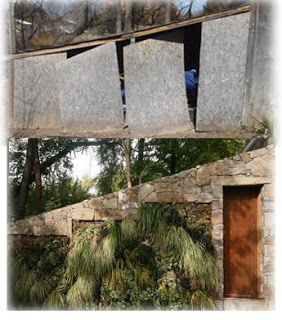
To finish the project, we constructed an andesite rock veneer and parapet in preparation for the next stage of the project: an extensive Green Roof.
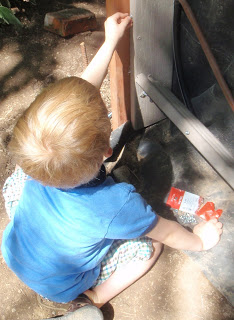
The chickens seem to like it